
8(903)201-21-74
ООО "ЧетыреДатчика"
 |
Оператор: 8(903)201-21-74 ООО "ЧетыреДатчика" |
Главная страница Titan-nvr user manual 1 2 3 4 5 6 7 8 ... 11 3. Adjust the Y angle. Wbw Panorama Pannrama С 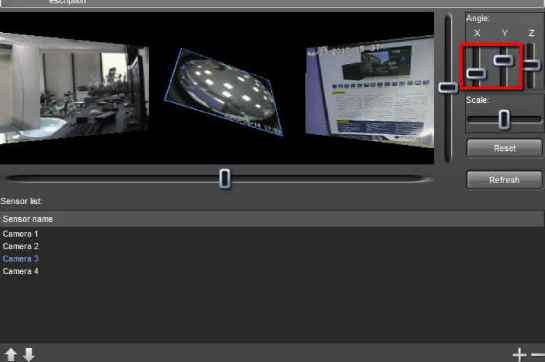 4. Adjust the Z angle. Pa па га ma Descriotion 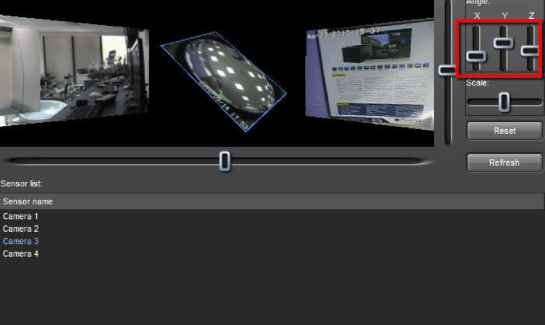 5. Scale up the image.  6. After all the changes, click on OK to save the current configuration to the server.  7. After an image fusion is fully configured, you will find the newly created image fusion already added to the Content List on the left. 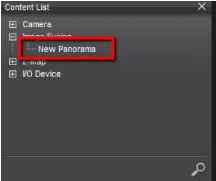 8. You may drag and drop the panorama to the view area. 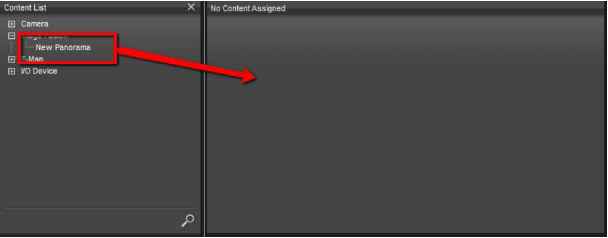 9. You will see the image fusion presented in the view area. 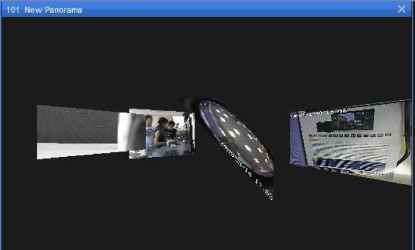 7.3 E-Map 7.3.1 E-Map Editing E-map is a graphical way to present cameras and I/O devices in order to give administrator an idea of where a camera is located, and the relationship among those devices. Cameras and I/O are overlaid on a street map, a floor plan, or any other custom image files. 1. To use the function, open E-Map Editor Tool. Update View List te sereer Backup Tool  2. Existing E-maps are listed on the top-left area and beneath it are cameras and I/O devices. The image file will be displayed in the black area on the right. Click on the Add button to add an E-map. 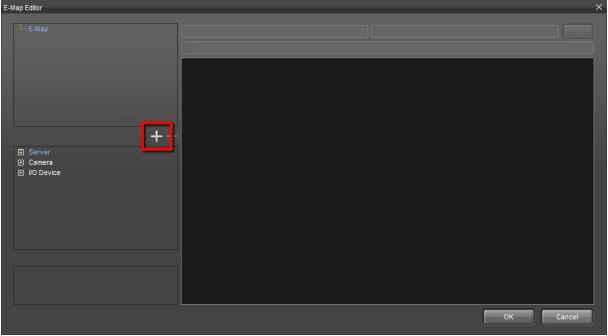 3. When a new E-map is added, you will see the fields on the right be activated. You may change the name, edit the description, and select a map file. The accepted file formats are PNG, BMP, and JPEG. The maximum file size of each map is 2MB. 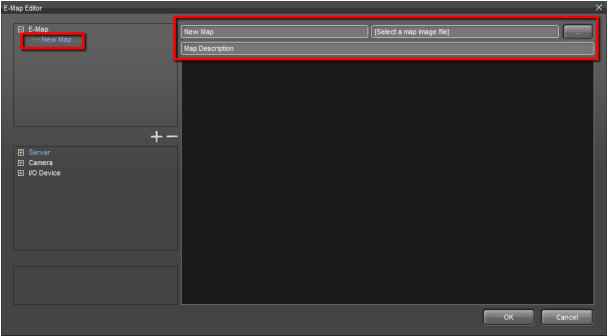  4. An image file is added. You can scroll your mouse wheel to zoom in and out the map image. 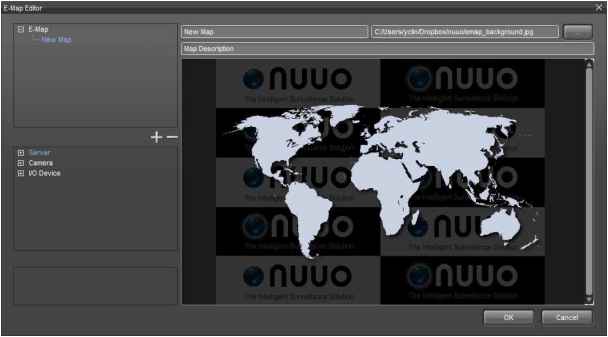 If you add a new E-map without specifying a image file, an error dialog will pop up to remind you.  5. Drag servers to the map. The icons should all be placed on the area of an image and cannot be placed on the black area surrounding an image when you zoom out.  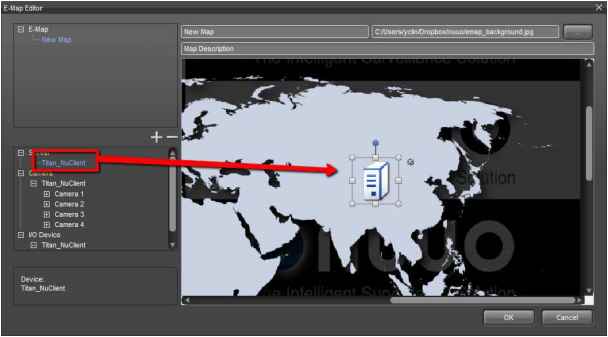 6. Drag cameras to the map.  7. Drag I/O devices to the map. 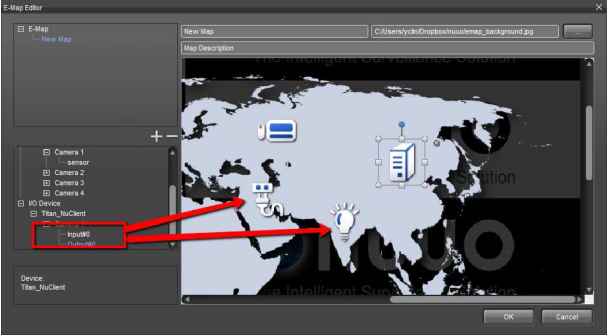 8. You can adjust the size by clicking on the edge points of an icon.  9. Click on the blue point to rotate an icon.  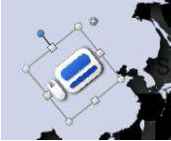 10. Click on the X icon to delete an icon. 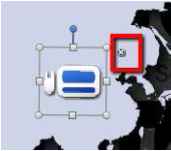 11. To delete multiple icons at one time, select multiple icons and drag them to the trash can in the corner. 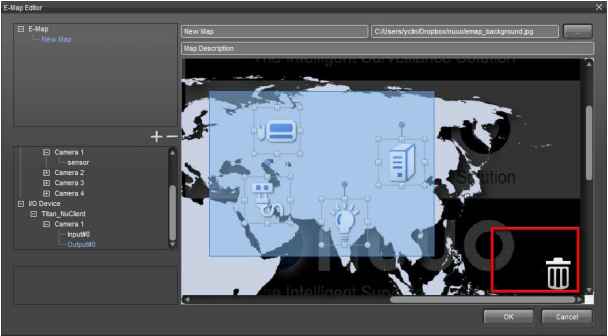 12. After committing the map to server, you may drag it to the view area. 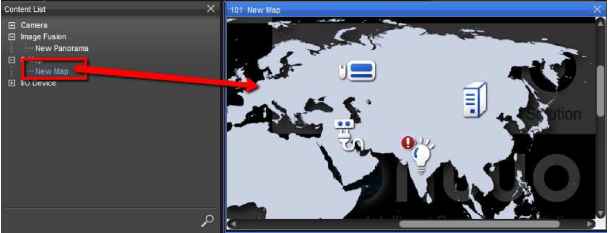  7.3.2 Properties With an e-map displayed in a channel, you may click on individual items on the map and their properties will be revealed in the properties panel. 1 2 3 4 5 6 7 8 ... 11 |